How to do a manual report customization
---
layout:
title:
visible: true
description:
visible: true
tableOfContents:
visible: false
outline:
visible: false
pagination:
visible: true
---
How to do a manual report customization
#
Reporting Overview
NetSuite includes a variety of reporting capabilities that you can use to retrieve, present, and analyze Real-time business results. You can run prebuilt reports as is, or modify them by setting per-user preferences, selecting per-report viewing options, or defining custom reports in the Report Builder tool. Reporting functions are available from the NetSuite Reports tab.
➢ Your access to reports depends on the permissions assigned to the role you use to log in to NetSuite, the center to which you log in, and the features enabled in your NetSuite account.
➢ A large number of Standard Reports, with predefined data and formatting, are available for different areas of your business.
➢ You have many choices for viewing reports. Each report's footer provides formatting options, as well as buttons for printing, emailing, and exporting to .csv, .xls, .doc, or .pdf files.
Access to Reports
For users with access to the Reports tab, the Reports Page includes links to reports and reporting-related functionalities. To display the Reports page, click the Reports tab or its Reports Overview menu link.
In addition to Reports page links, many reports may be available from menu links. The reports that a user can access, either from the Reports page, or from menu links, depend on the user's assigned role and its permissions, the center being used, and the account's enabled features.
##
Summary and Detail Reports
■ Many reports have summary and detail versions available.\
■ Reports listed at the first sub-link level under a category are summary versions. You can click a report
menu link to display the report.\
■ Each summary report with an available detailed version has the following sublinks:
□ Customize Summary displays the summary version of the report in the Report Builder, or in the Financial Report Builder (financial statements only).
□ Detail: displays results for the detailed version of the report.
□ Customize Detail displays the detailed version of the report in the Report Builder, or the Financial Report Builder (financial statements only).
##
Customizing Standard Reports:
Adding, Removing, Columns in Reports
The Report Builder lets you add, and remove columns Adding Report Columns:
Before you add a new column to a report, ensure that you understand the type of information the new column will provide. Columns with similar descriptive headings provide different values.
1. Open the report and click on customize
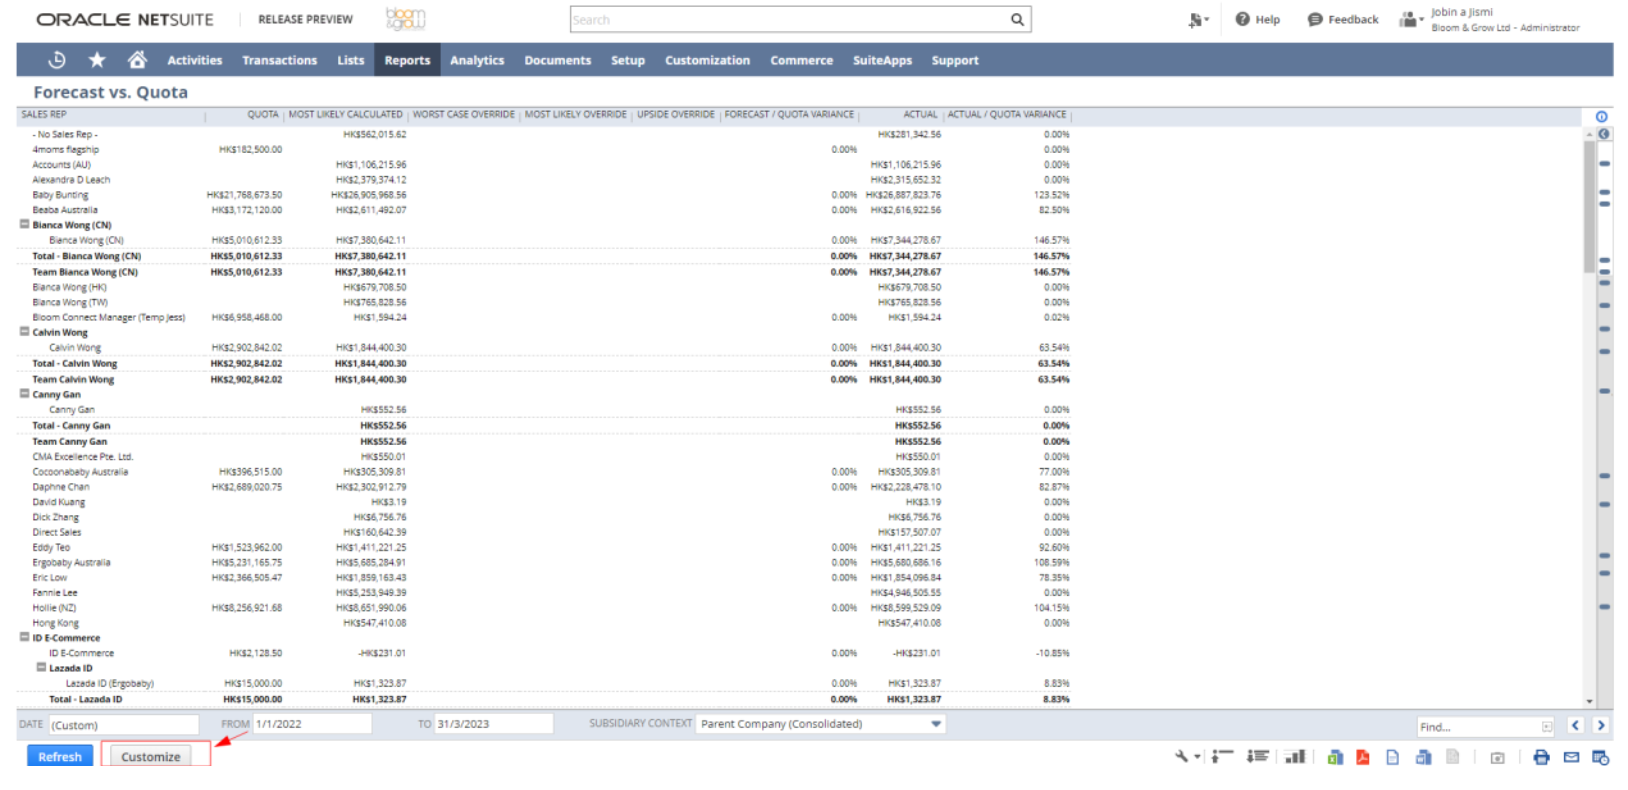
2\. On the Report Builder (or Financial Report Builder) page, click Edit Columns.
3\. In the Add Fields pane, select the field that represents the column you want to add to your report. The list of fields provided is organized by report component. You can click the name of the field to add it as the last column of your report or you can click and drag the name from the Add Fields pane and drop it in the order you want in the Report Preview pane.
4\. In the Report Preview pane, enter a new heading for your column or leave the default heading.
5\. Choose from the following optional column options:

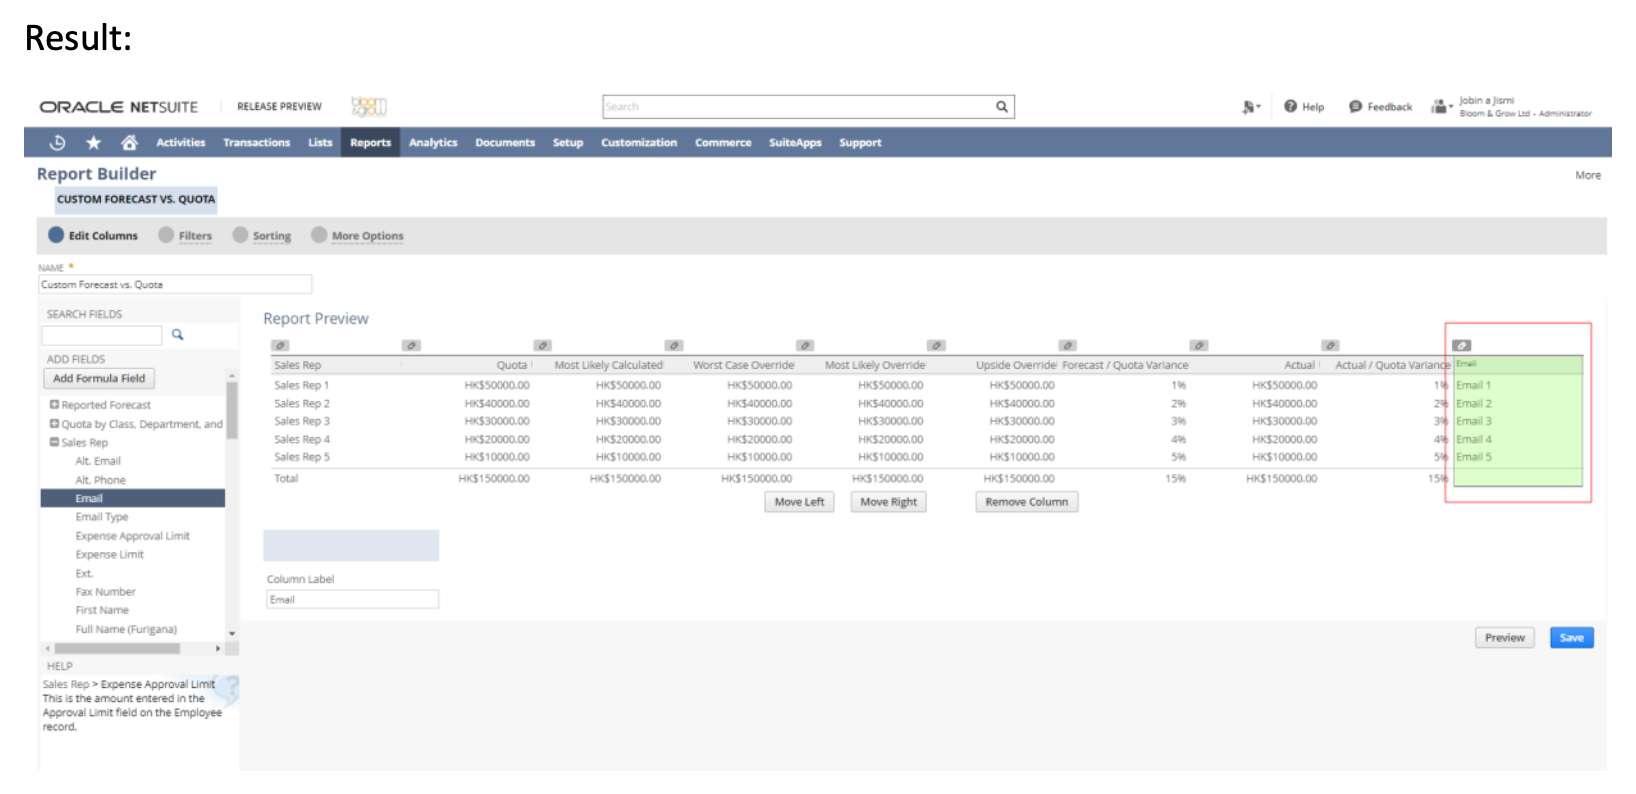
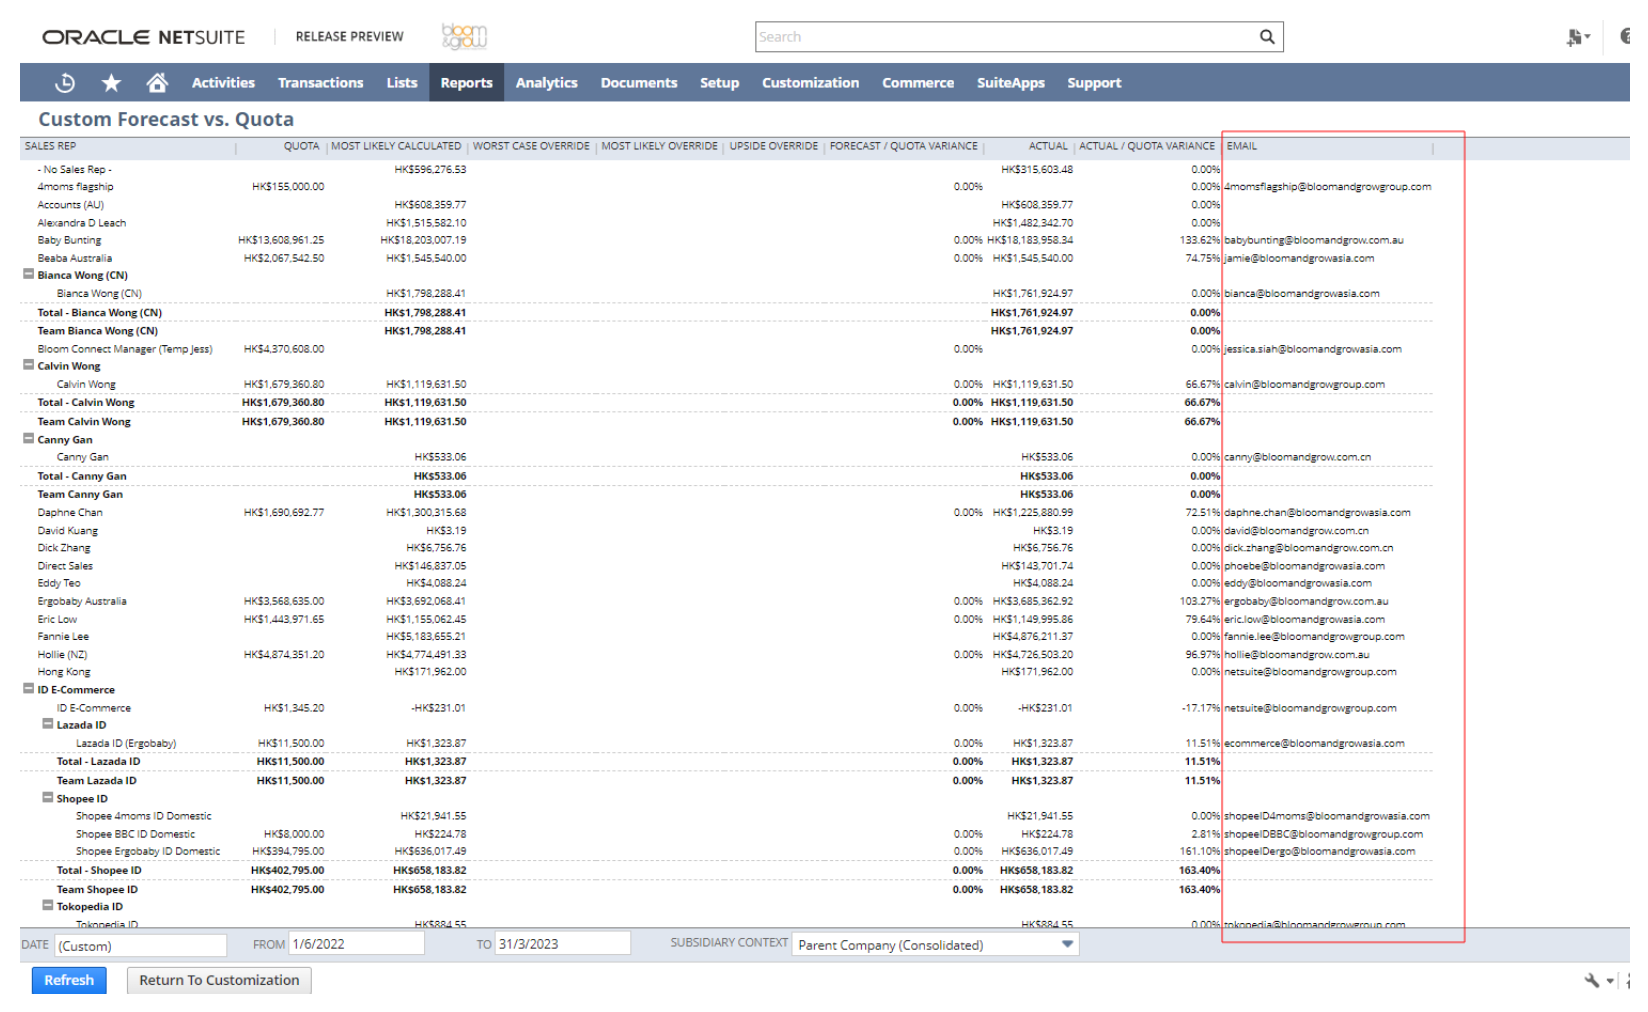
6. Click save/ preview
##
Removing Report Columns
To remove columns from your report :
1\. Click Customize in the footer of the report.
2\. On the Report Builder (or Financial Report Builder) page, click Edit Columns.
3\. In the Report Preview pane, select the column you want to remove. You can select the column by clicking anywhere within the column or by clicking the edit icon.
4\. When the column is selected, click Remove Column.
5\. Click Save
##
Report Footer Options
The following options are available on footer reports. Options are available for all general reports unless otherwise stated.
➢ Class\
Available for financial statement reports, if Classes feature is enabled.
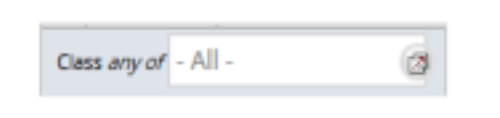
Select one or more classes to see account data only for those classes.
➢ Date
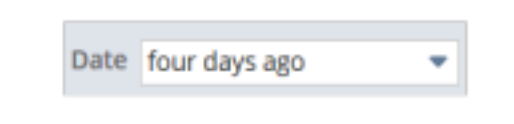
Select the date range for the information you want to show on the report. The date range you select will be reflected in the From and To fields or the last date of the range is reflected in the As Of field.
If you enter a different range in the From and To fields, the date field automatically shows custom.
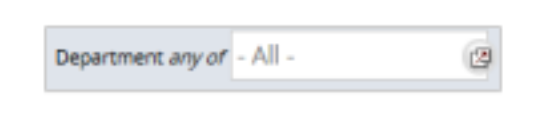
➢ Department\
Available for financial statement reports, if the Departments feature is enabled.
➢ Email

Click this button to email the report.
➢ Export
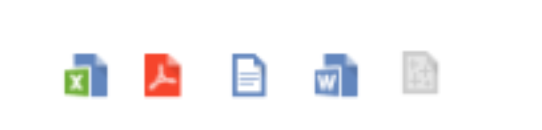
Click these buttons to export the report in .xls, pdf, word, and CSV
➢ Print
Click Print to print the report.

➢ Refresh\
Click Refresh after making selections from footer options, to view their effect on report results.
➢ Subsidiary Context
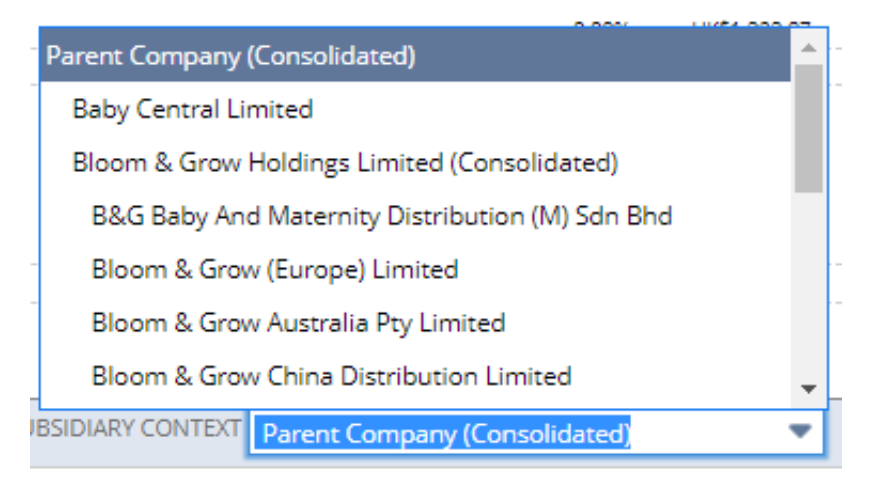
Available for most reports in accounts using NetSuite OneWorld. If you use NetSuite OneWorld, select the subsidiary data you want to display on the report. If a report can show consolidated information, the Subsidiary Context field in the footer of the report includes options appended with (Consolidated).
#
Choosing a Date or Period Range for a Report
When you run a NetSuite report, you can filter its data to show only transactions that fall within a predefined date or period range or define a custom range.
Date, From, and To dropdown lists display in the footer of most report results pages. When you make a selection from the Date dropdown list, From and To values are populated automatically. You can also choose (Custom) in the Date field and enter From and To dates manually.
#
Filtering Data on Reports
On the Filters page of the Report Builder, or Financial Report Builder (for financial statements), you can choose filtering options to narrow your report data. You can choose to include some of these filters as dropdown menus in the report footer, to enable users to change filters as they are viewing the report. You can define custom filters or select from a list of predefined filters.
##
Adding Custom Filters to a Report
To add custom filters to your report :\
1\. Click Customize in the footer of the report.\
2\. On the Report Builder (or Financial Report Builder) page, click Filters.
3\. In the Add Fields pane, select the field you want to filter the report by. You can locate the field by browsing the list in the Add Fields pane or type the name of the field in the Search Fields name and clicking Search. When the field is selected, a line for that field is automatically added to the list of filters displayed in the Choose Filters panel.
4\. In the Values column, select the filter conditions you want to apply to the field.
5\. Filter options are dependent on the type of field selected.
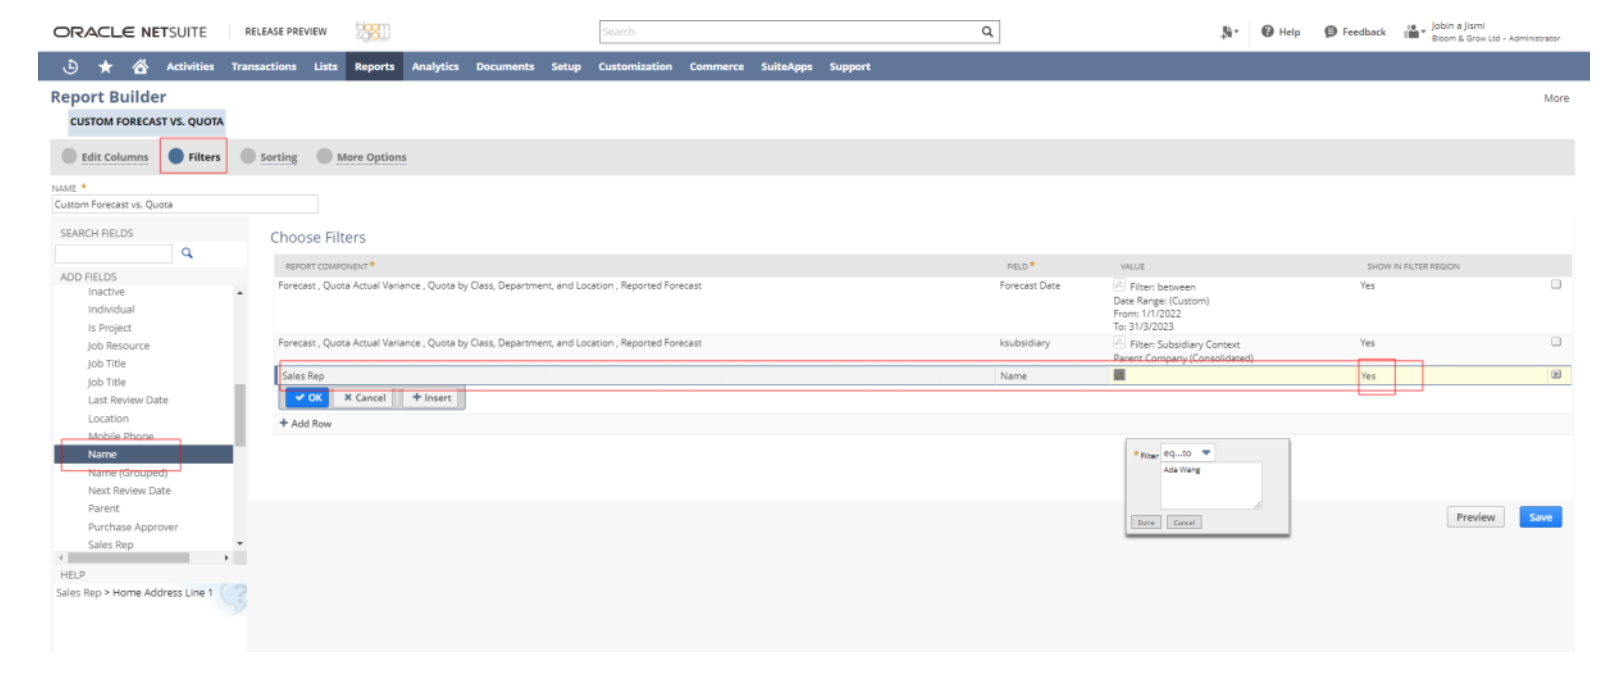
6\. Click Done.\
7\. Repeat steps 3-6 to add more filters to your report, if needed, then click Save.
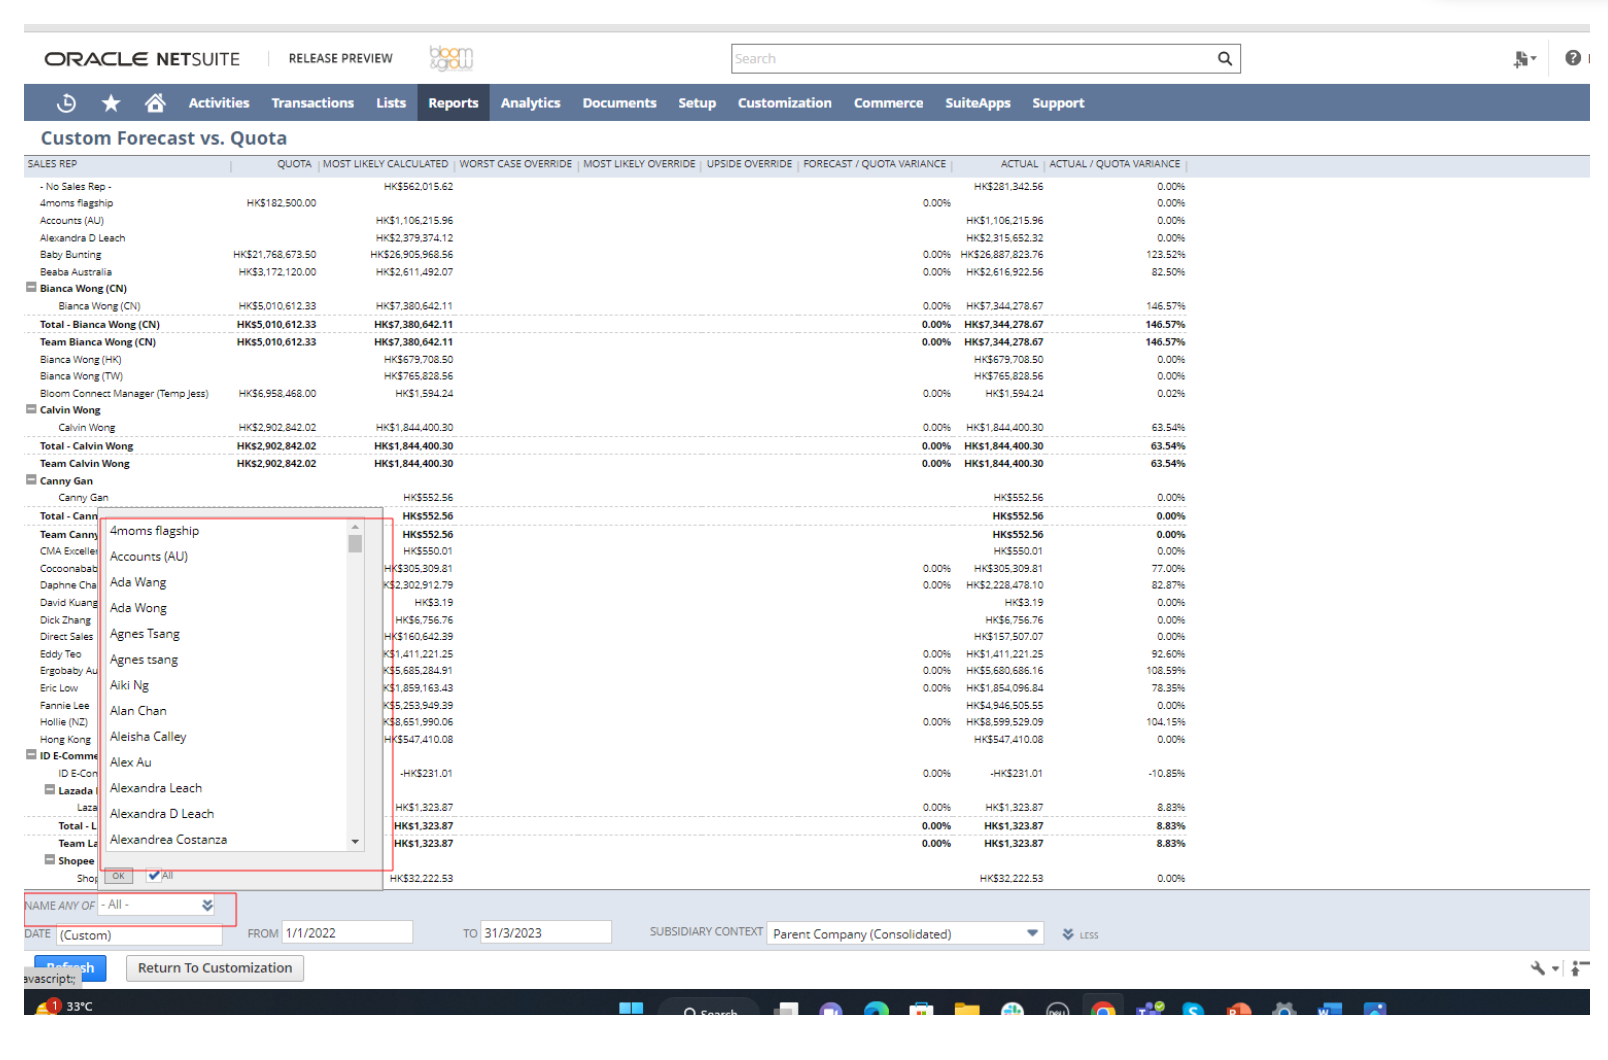
Result:
##
Emailing a Report
You can click the Email button in the footer of any report to email the report to any employee, vendor, customer, partner, or group entered in your account.
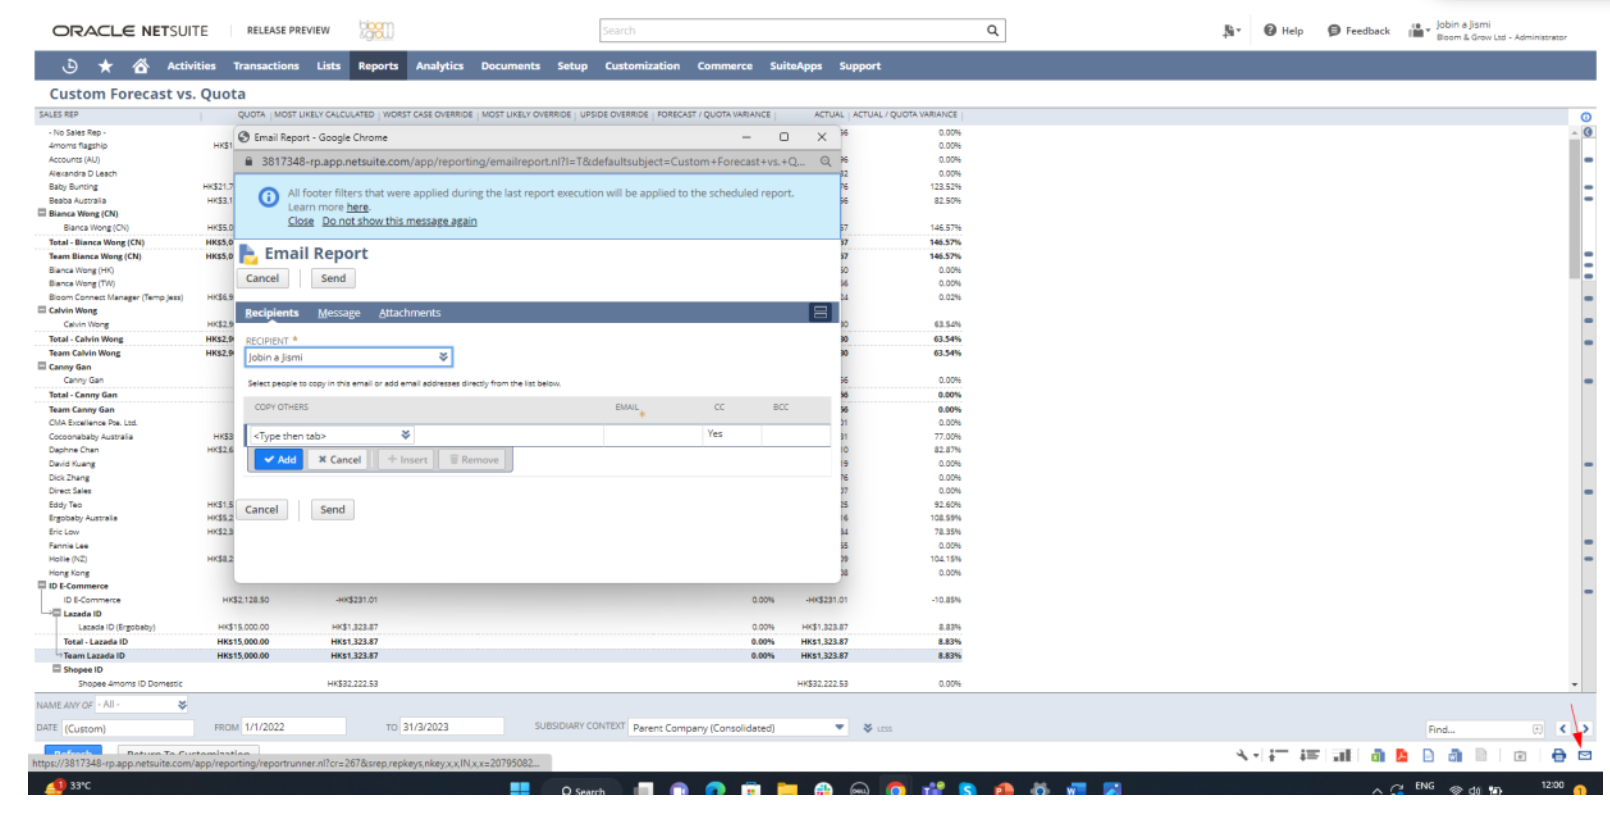
On the Email Report page, you can :
■ Select a primary recipient and choose to Cc or Bcc additional recipients on the Recipients subtab. Each recipient can be an individual user or a group.
■ Enter a custom subject and body text for email messages on the Message subtab.
■ Choose to send the report as an attachment by checking a box on the Message subtab. ■ Select additional attachments to include on the Attachments subtab
##
To schedule a report:
1\. Go to Reports > Reports Overview and click the name of the report you want to schedule to run the report.
2\. In the footer of the report, click the Schedule button.
3\. On the Schedule Report page, enter a name for the schedule. This name will help you identify this schedule on the Report Schedules list.
4\. Enter the date for the report to run. If the report is to be run more than one time, then this date will be the date that the schedule becomes active.
5\. Enter the start time for the report. If the time you select is during peak hours, this will be indicated to the right of the time field.
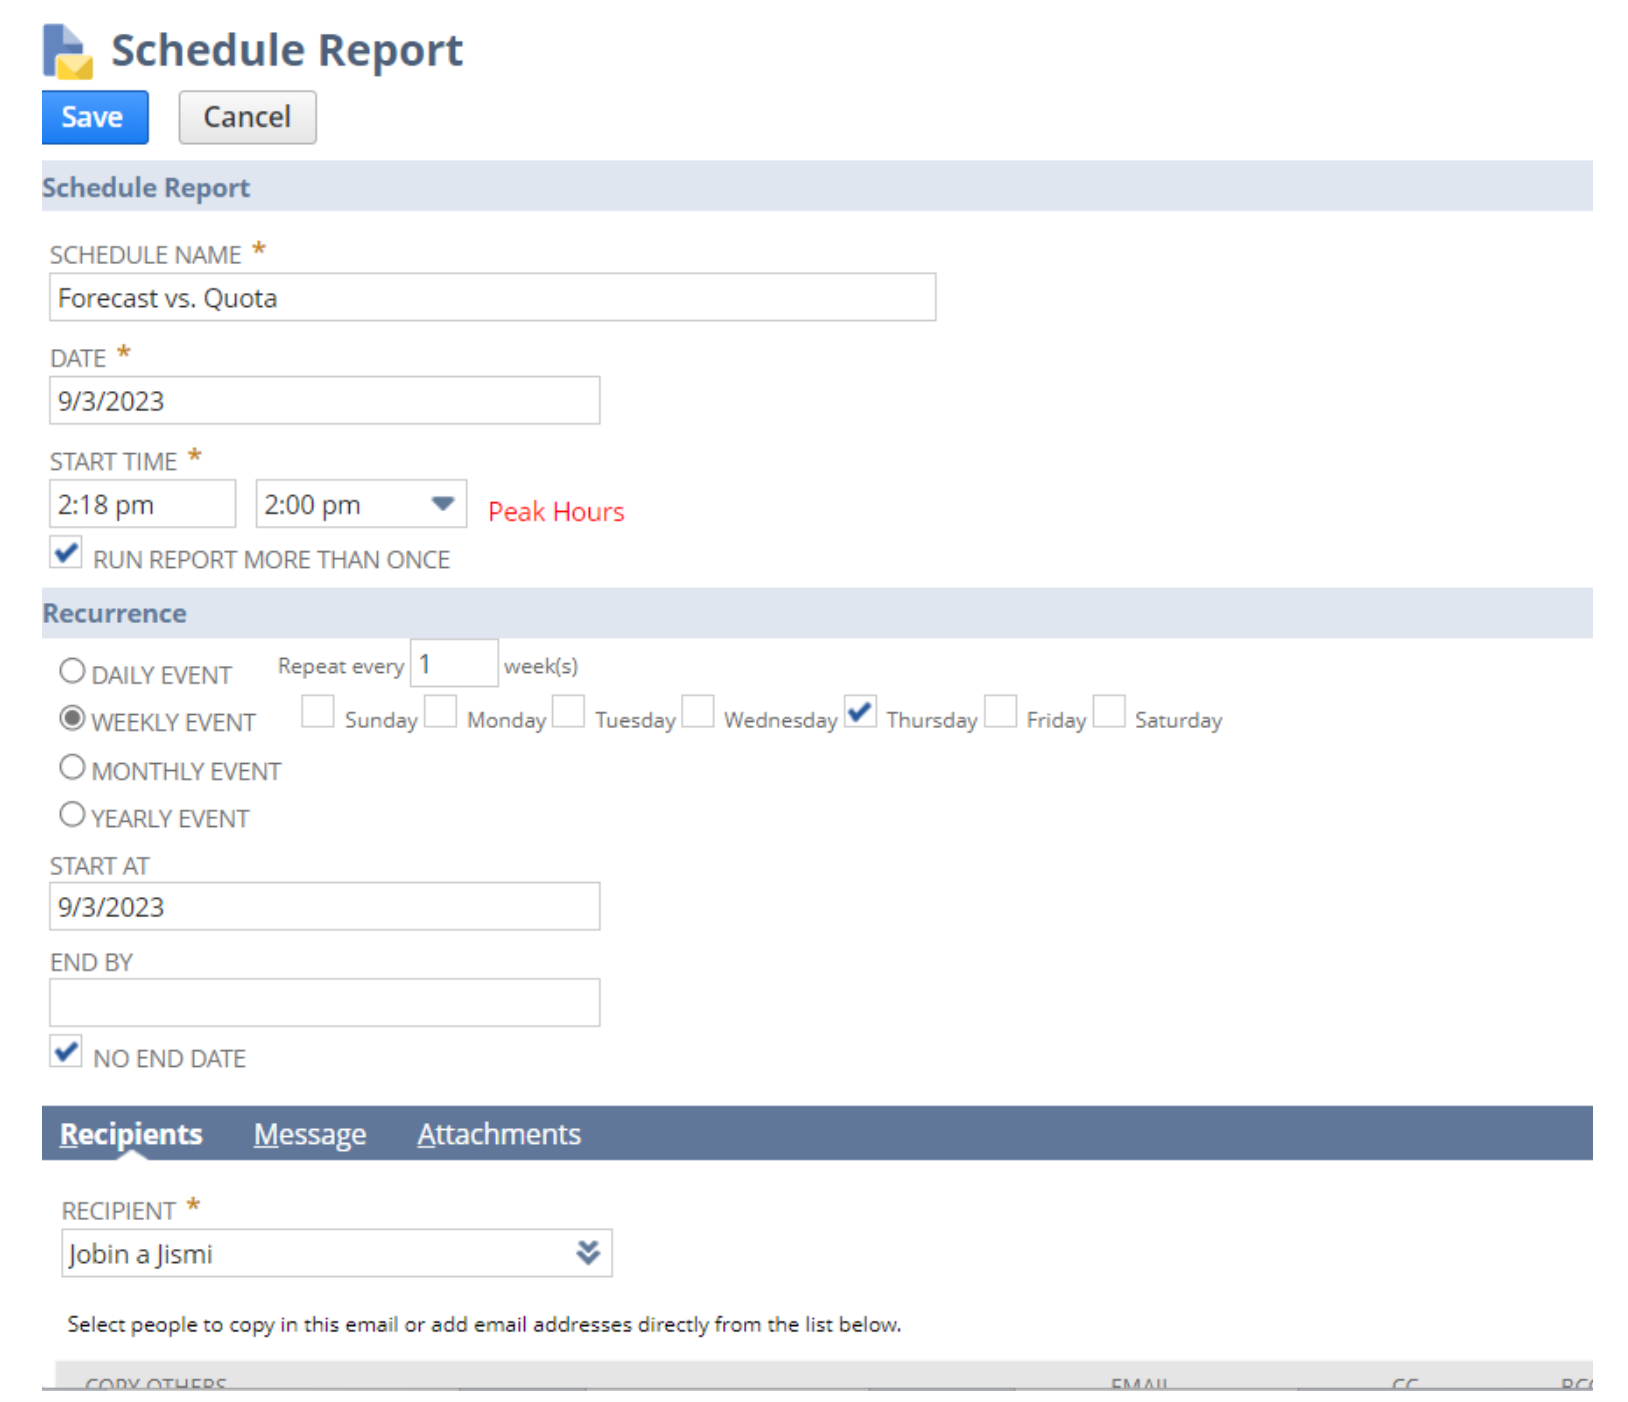
6\. Check the Run Report More Than Once box if you would like the report to run multiple times. If you select this box the page will expand to reveal further scheduling options as follows:
Daily Event – Specify the frequency: Repeat every X days (also counting weekend days) or Repeat every weekday (Monday-Friday).
Weekly Event – Specify the frequency: Repeat every X weeks and choose which days of the week it should run.
Monthly Event – Select day X of every X month or specify the (1st, 2nd, ... last) (Sunday, Monday, ... Saturday) of every X Month.
Yearly Event – Select the date or specify the (1st, 2nd, ... last) (Monday, Tuesday, ... Saturday) of (Jan, Feb ... Dec).
Start At and End By – Enter the date range you want to schedule the report for. If you are scheduling a single event, the report will be emailed on the date entered in the Start At field.
If you are scheduling a repeat event, the report will be emailed according to the schedule you set starting on the date entered in the Start At field and ending on the date entered in the End By field.
• No End Date - Check this box if you want the schedule to repeat indefinitely. This field is checked by default. Entering a date in the End By field automatically clears this box.
7\. On the Recipients subtab:
The Recipient field is pre-filled with your email address. You can change the primary recipient by selecting from the Recipient dropdown list.
In the Copy Others dropdown list, select an additional recipient and choose whether to include it in the Cc or Bcc list, and click Add.
8\. On the Message subtab:
Enter a custom subject and body text for email messages.
Choose the Sending Format from the list.
9\. On the Attachments subtab:
In the Attach File field, select a file from your computer or File Cabinet to attach to the email, and click Add.
Repeat to attach additional files.
Check the Zip attachments box if you want to attach a zip file of all selected attachments.
10\. Click Save
```svg
```