How to create a Customer account to NetSuite
---
description: There are two Types of Customer records that can be created in NetSuite
---
How to create a Customer account to NetSuite
#
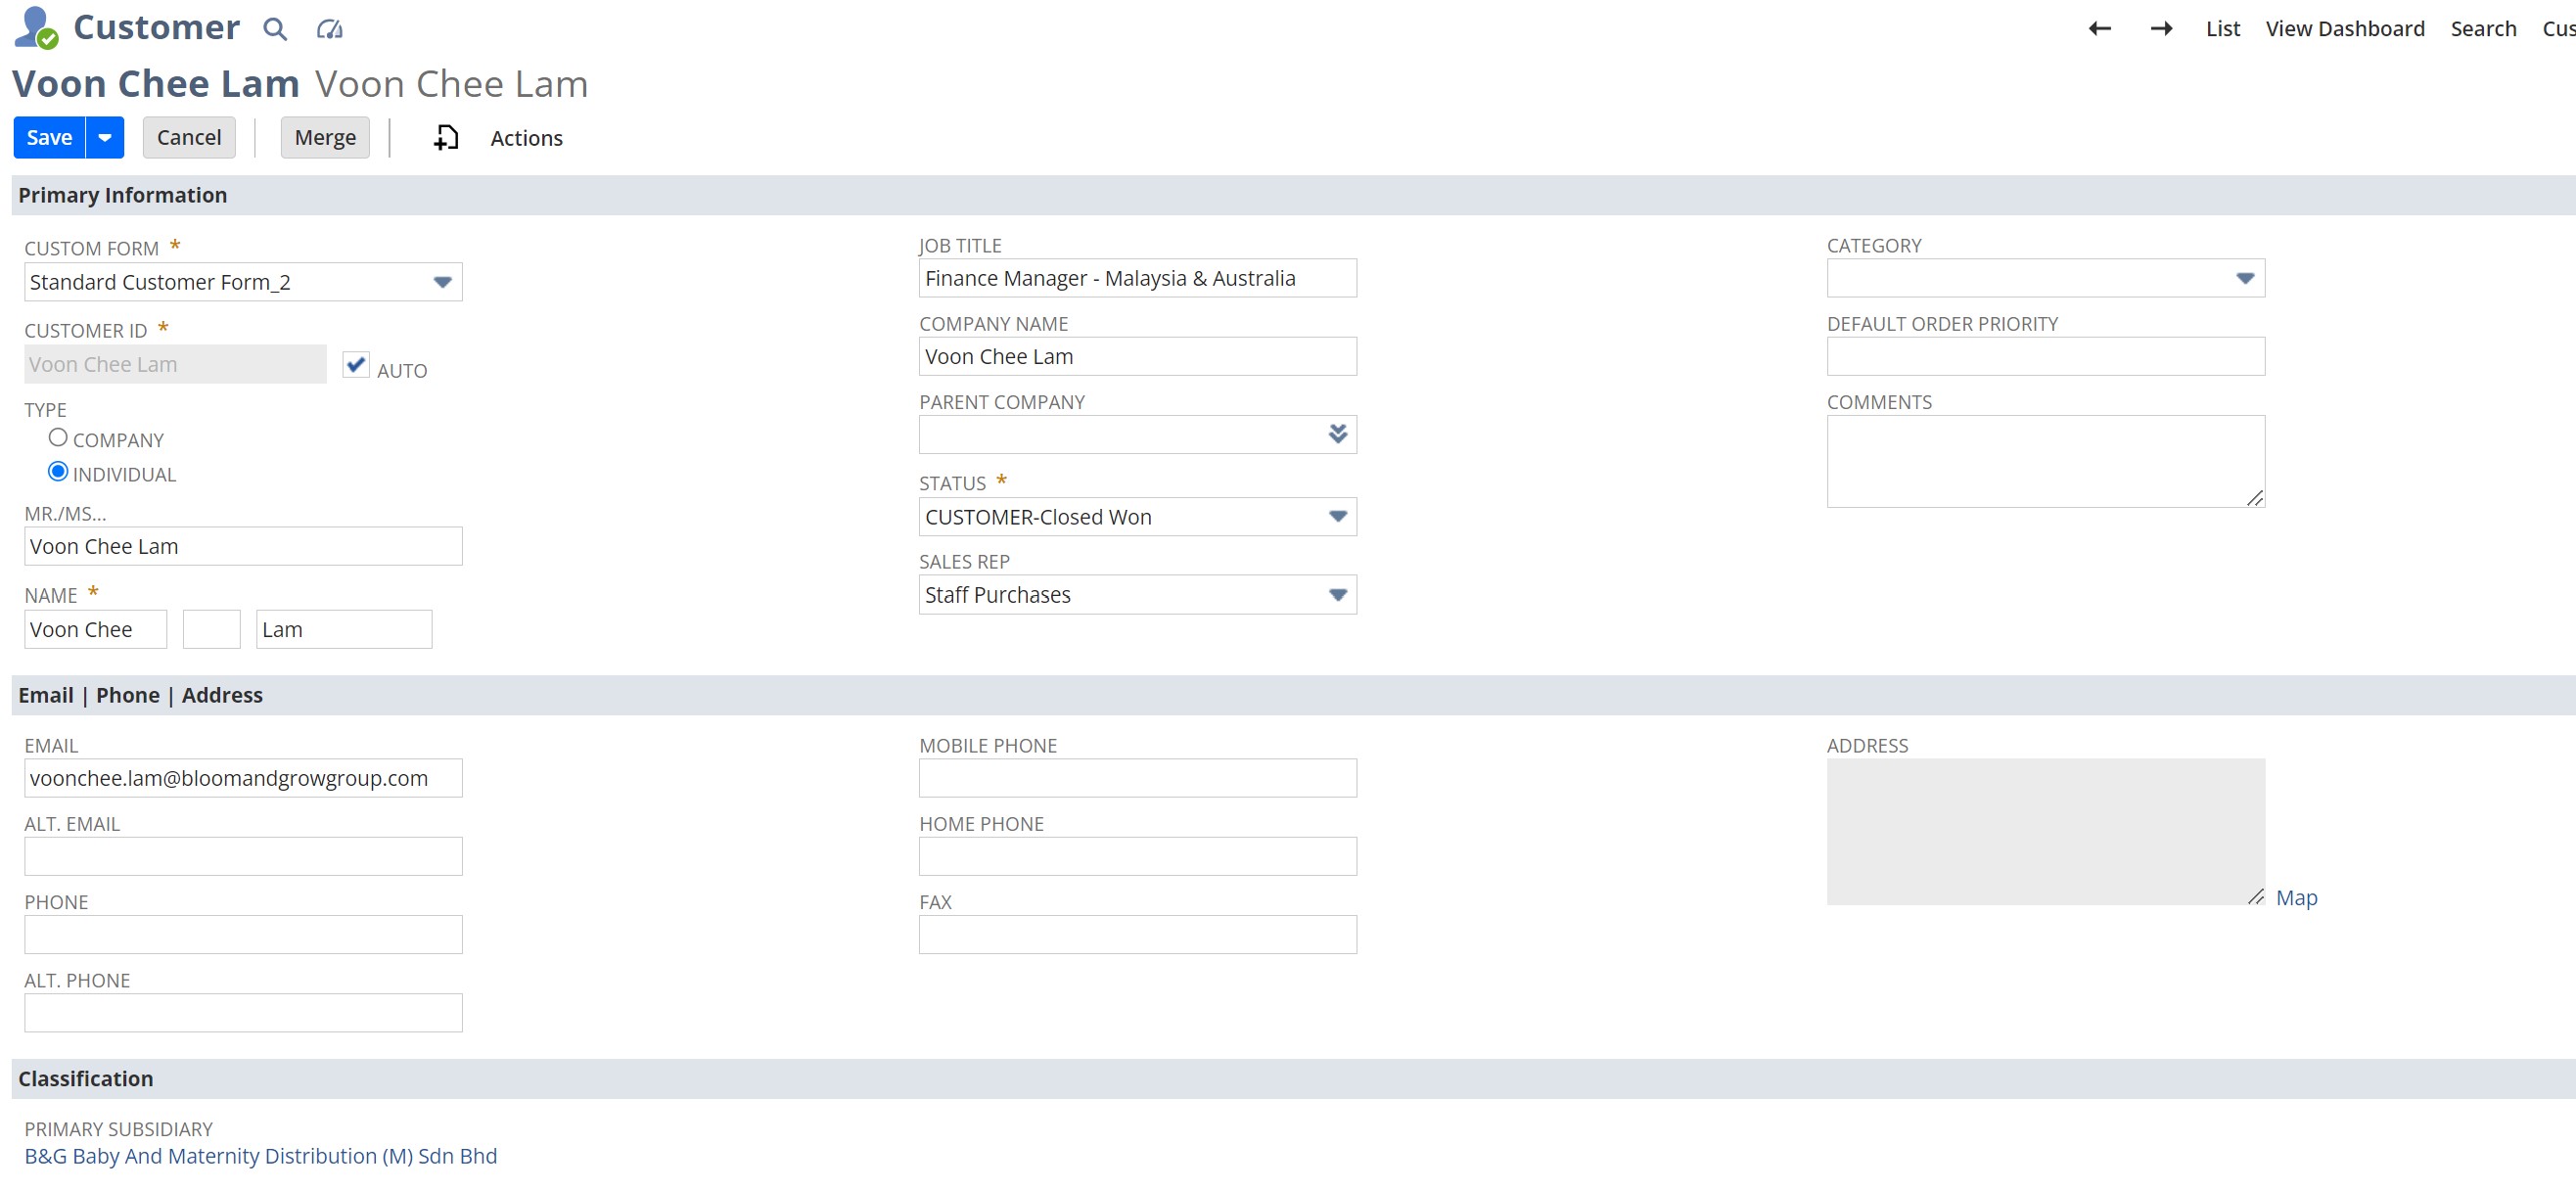
A. Customer as Individual
1\. Log in to NetSuite
Ensure you have the appropriate permissions to create customer records.
###
2. Navigate to the Customer Record Creation Page
Go to Lists > Relationships > Customers.
Click on New to start creating a new customer record.
.png)
###
3. Enter Basic Information
Name: Enter the full name of the individual customer.
Customer Type: Choose “Individual”.
Job Title: Title of the individual.
Company Name: Same as the individual name
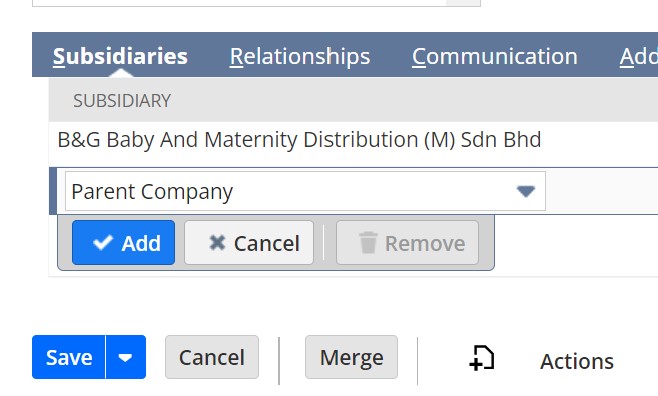
Subsidiary: Select the appropriate subsidiary or as requested from your file
###
4. Fill in Contact Information
Address: Under the address tab, Enter the individual’s billing and/or shipping address. (If Available)
Phone: Provide a contact number. (If Available)
Email: Enter the individual’s email address. (required)
###
5. Set Up Financial Information
Financial: Under this tab, choose the correct currency applicable to the individual. (required field)
.jpg)
###
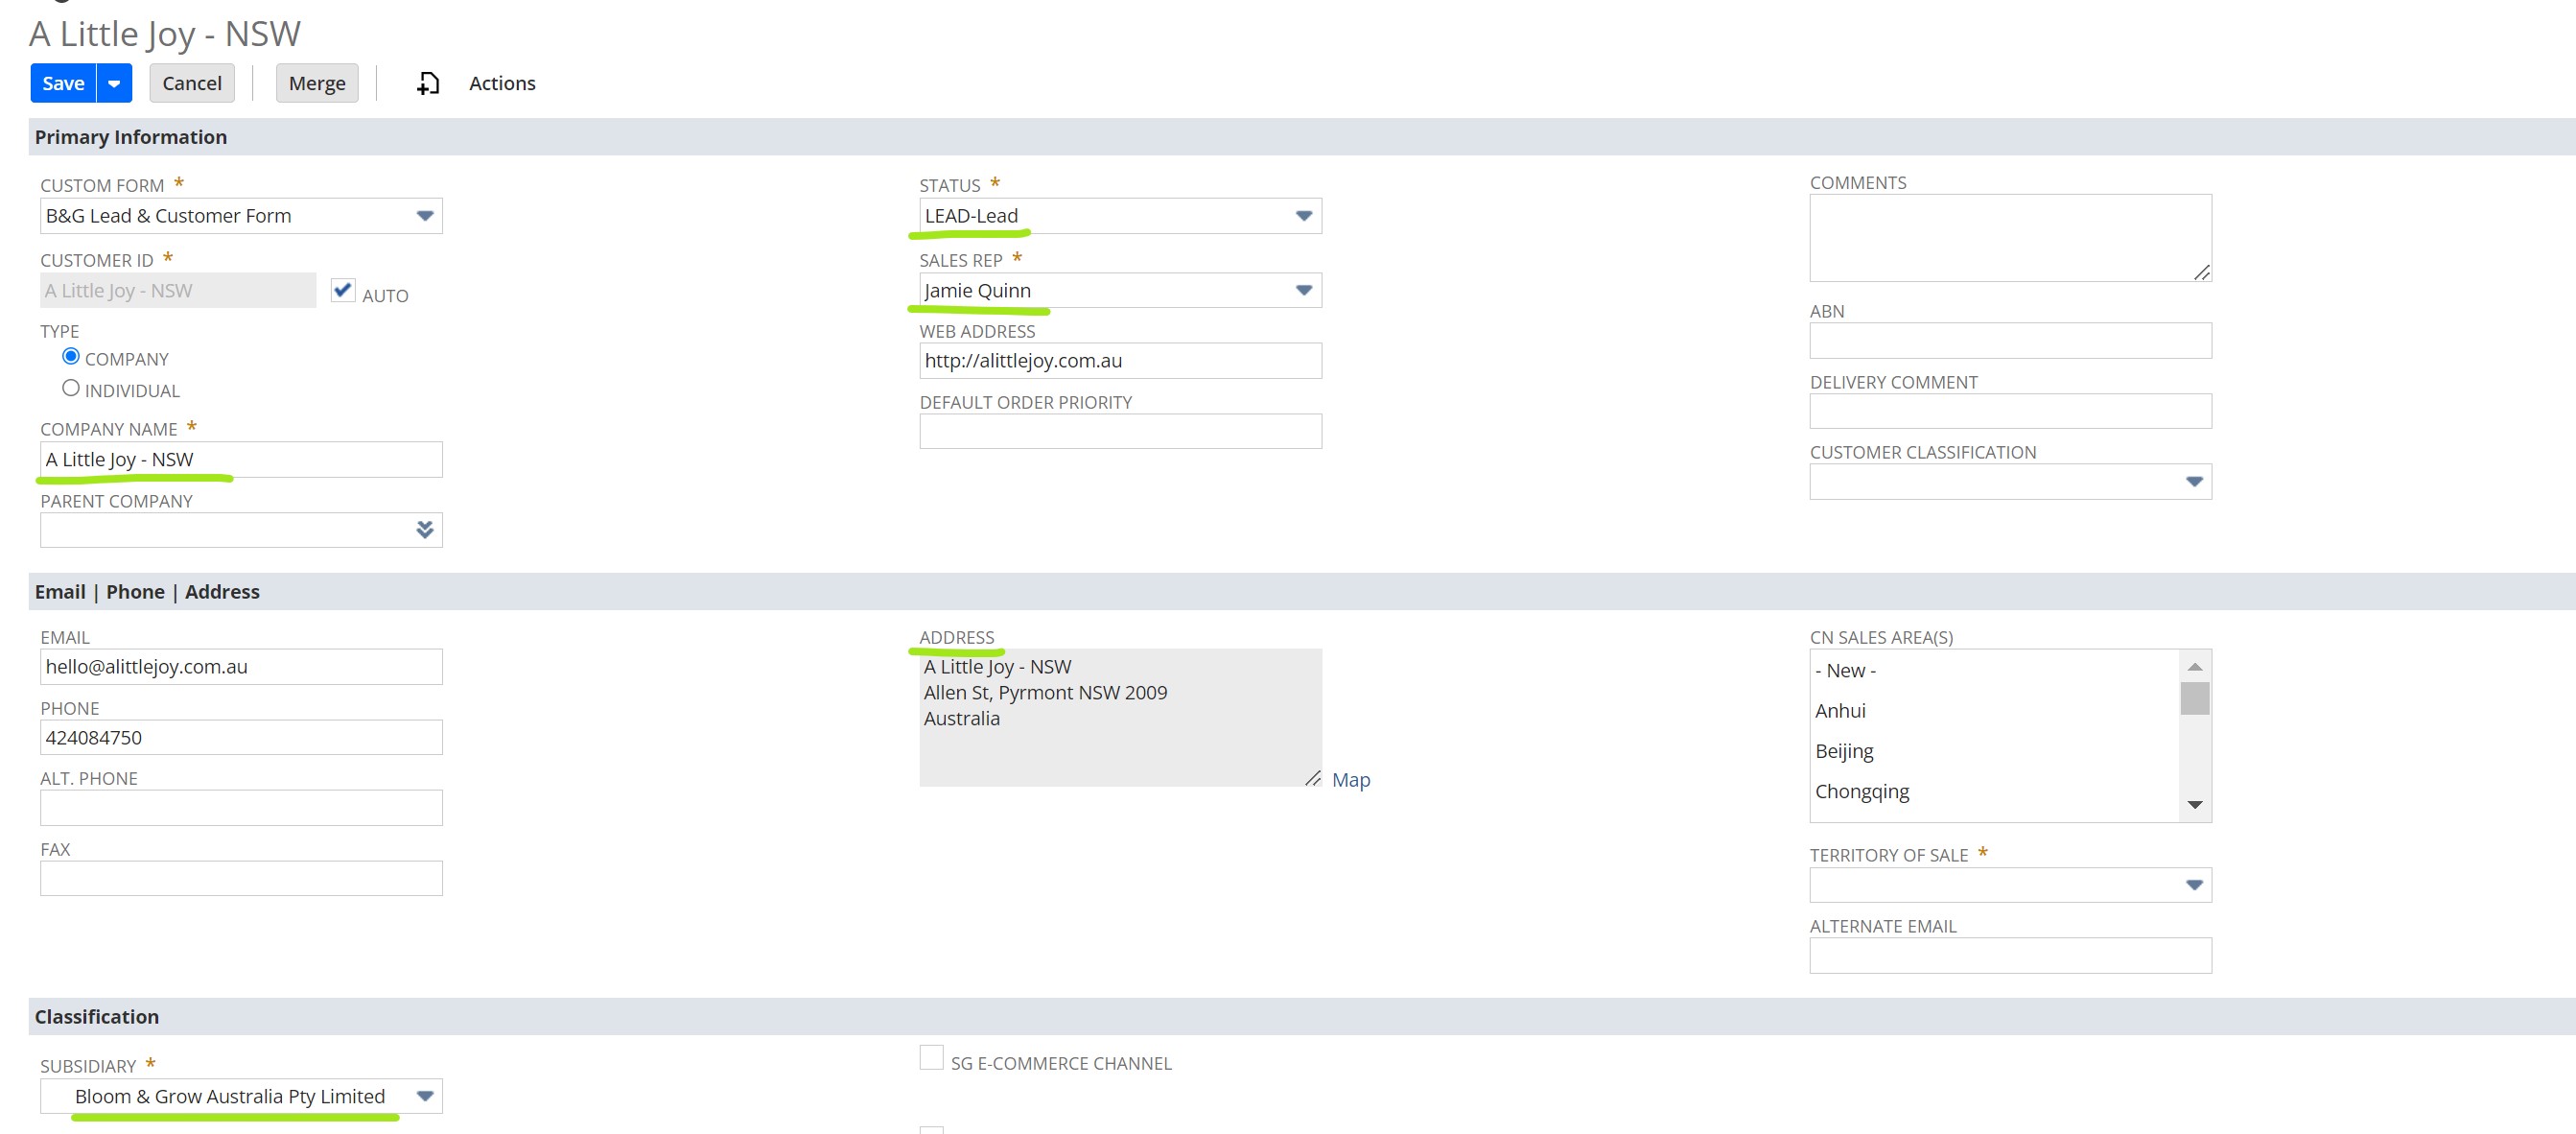
7. Territory of sale:
Under Classification: Select the country of sale (same with the Subsidiary)
###
8. Save the Record
Click Save to create the customer record.
###
9. Review and Confirm
After saving, review the customer record to ensure all details are correct.
Make any necessary adjustments or additions.
Creating a customer record in NetSuite for a company involves a straightforward process. Here’s a step-by-step guide:
##
#
B: Customers as Company
###
1. Navigate to the Customer Record Creation Page
Go to Lists > Relationships > Customers.
Click on New to start creating a new customer record.
.png)
###
2. Enter Basic Information
Company Name: Enter the name of the company.
Customer Type: Select “Company” to denote that this is a business entity.
Subsidiary: If using NetSuite OneWorld, choose the appropriate subsidiary.
###
3. Fill in Contact Information
Address: Enter the company’s billing and/or shipping address. You may need to provide multiple addresses depending on your setup.
Phone: Add the primary contact number for the company.
Email: Enter the company’s general or primary email address.
###
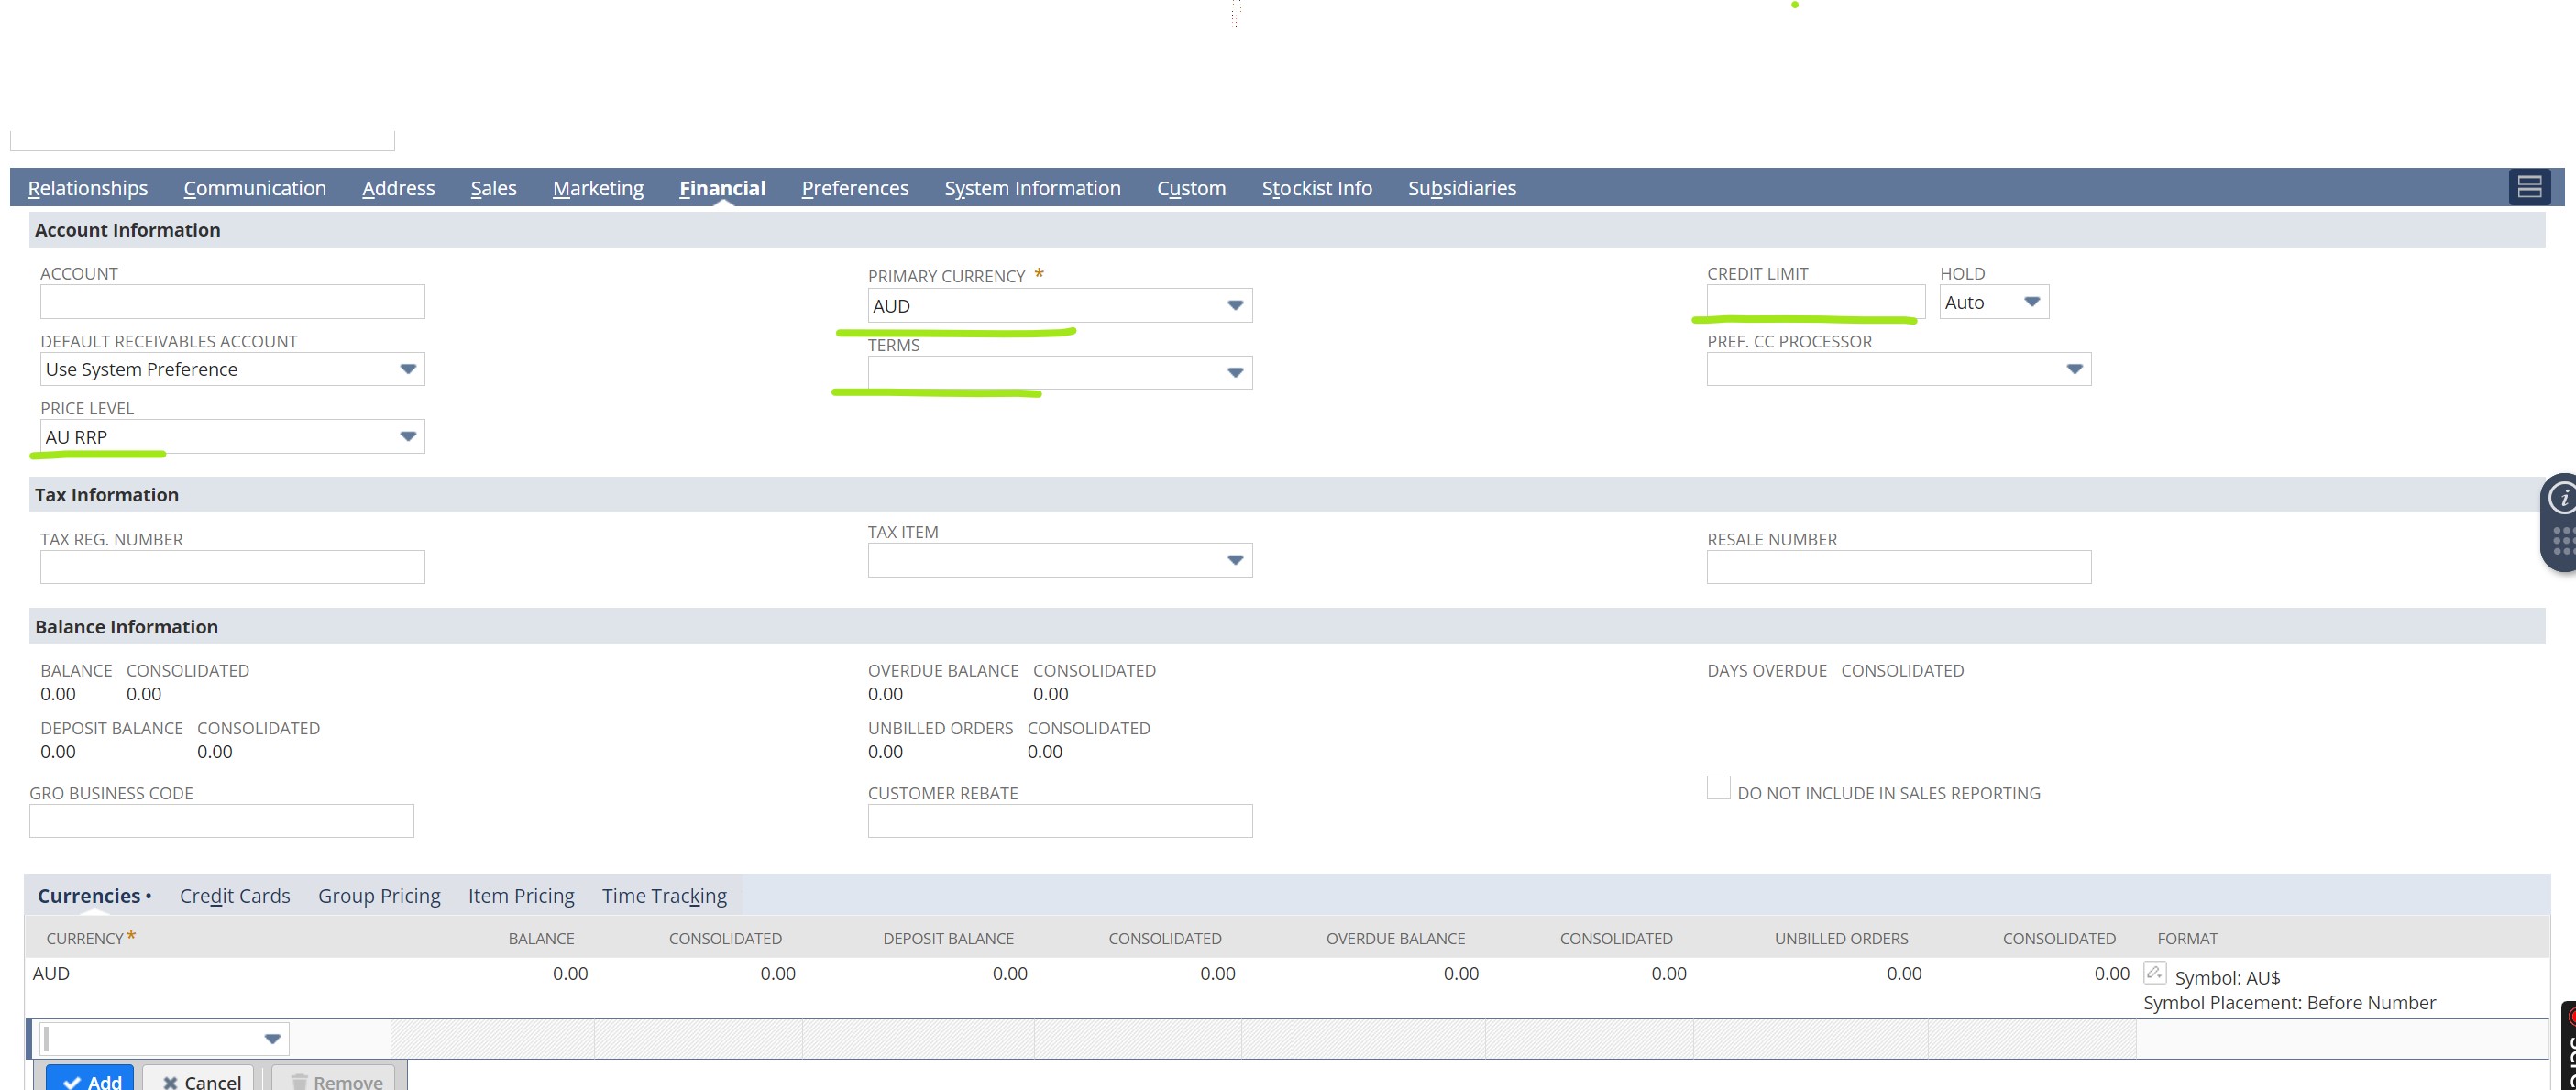
4. Set Up Financial Information
Terms: Specify the payment terms for the company (e.g., Net 30, Net 60).
Primary Currency: Set the correct currency as required. (e.g., AUD)
Credit Limit: Set a credit limit for the company, if applicable.
Price Level: Choose the appropriate price level for the company.
###